
Laser Rotary Chuck: Jaw Installation & PM Guide
This guide details the specific process for reassembling and maintaining a laser rotary chuck, focusing on sequential jaw installation and critical mechanical checks. Proper maintenance and alignment are essential for a chuck rotary, especially since smoke and debris from laser projects can cause mechanical “slop” or jamming.
1️⃣ Preventative Maintenance (PM) & Mechanical Checks
Before reassembling the jaws, inspect the core components of the rotary to ensure there is no hardware failure.
-
- Eliminate Slop: Check the main assembly for any play or “slop”. If the chuck assembly pulls away from the shaft easily, it must be tightened before use3.
-
- Secure Grub Screws: Inspect the shaft for grub screws. Many models feature two screws positioned at 90-degree angles to each other4. Ensure these are tightened against the shaft to prevent the chuck from slipping during rotation5.
-
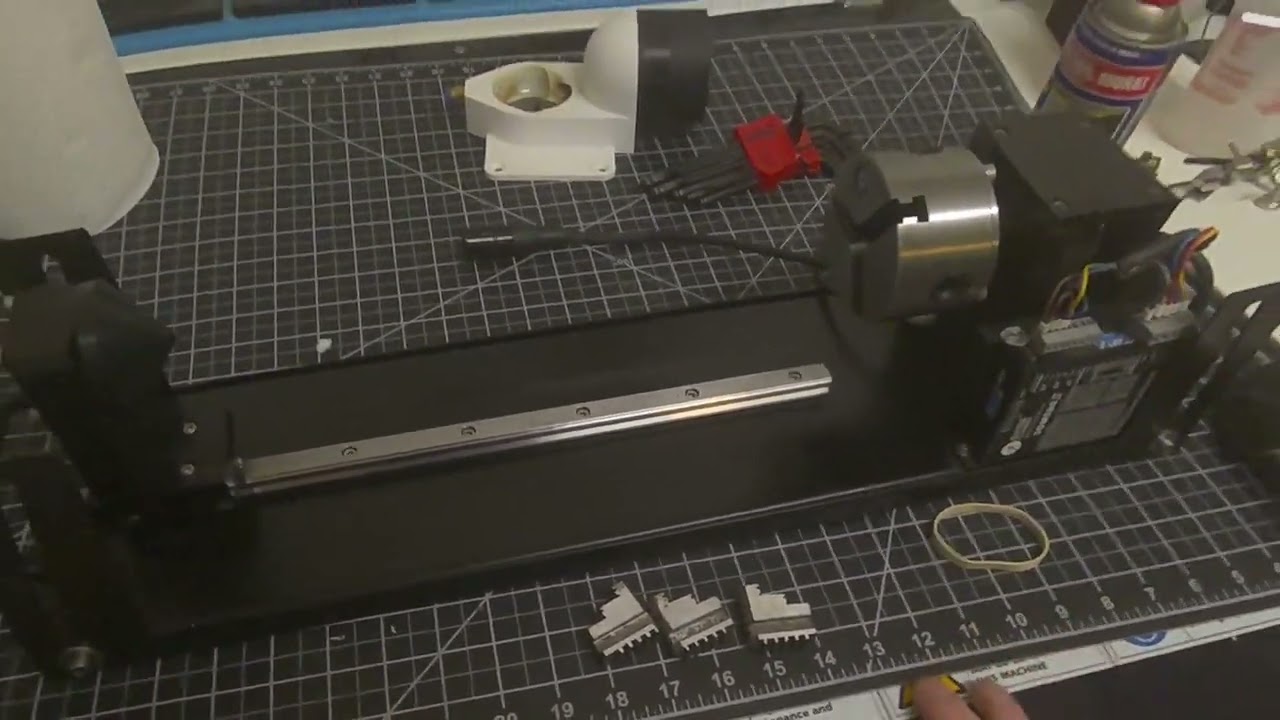
- Slot Identification: The slots inside the chuck are numbered (1, 2, and 3). A helpful “pro-tip” is to engrave these numbers on the outside of the chuck body so they are easily visible during jaw changes.
2️⃣ The Sequential Jaw Installation Trick
The jaws must be inserted in a specific sequence to remain synchronized.
-
- Match the Numbers: Identify the number etched on each jaw (1, 2, and 3) and match it to the corresponding slot on the chuck.
-
- The Rubber Band Method: To make installation easier and prevent jaws from falling out while you work, place a rubber band around the slots to hold the jaws in place as you drop them in.
-
- Avoid Side-Loading: Ensure the rubber band is positioned so you can push the jaws directly down into the slots. If a jaw is “side-loaded” by the rubber band, it will jam and refuse to seat properly.
3️⃣ Synchronizing and Tightening
Once the jaws are physically in their slots, they must be synchronized with the internal scroll gear.
-
- The “Backward Click” Technique: Insert your chuck key and rotate it backwards (counter-clockwise).
-
- Listen for the Clicks: Continue rotating backwards until you hear or feel three distinct clicks. Each click indicates a jaw has dropped into the start of the scroll thread.
-
- Final Tightening: After the third click, begin rotating the key forward (clockwise). The jaws should now move inward simultaneously and meet perfectly in the center.